Google recently released Antigravity, their own VSCode fork. I tried it because I liked Gemini Pro, which they also gave away for free for students, and I wanted to see how it compared to VSCode. I don’t use vibe-coding or “agentic” coding or anything “cool” like that, but I do enjoy Co-Pilot’s autocomplete features in VSCode, and I was curious to see how Antigravity compared. I tried it on my home machine, and I was quite happy with it. Maybe because it was new, but I found it to be better than Co-Pilot. So I wanted to try it on my work machine, but unfortunately, Antigravity’s Linux installation instructions offered either sudo or the source code. I would have personally liked it best if they offered an AppImage, and I even considered creating one myself (maybe I will write a post about it later). But turns out there was a much easier way to use it.
Installing Antigravity from source tarball
The “source tarball” Antigravity.tar.gz contains the pre-compiled binary, so we can just extract it and run it. Assuming the tarball is in ~/Downloads:
 1$ tar -xzf Antigravity.tar.gz -C ~/Installations/
 2
 3$ cd ~/Installations/Antigravity
 4
 5$ ls -1
 6
 7antigravity  # <- this is the binary.
 8bin
 9chrome_100_percent.pak
10chrome_200_percent.pak
11chrome_crashpad_handler
12chrome-sandbox
13icudtl.dat
14libEGL.so
15libffmpeg.so
16libGLESv2.so
17libvk_swiftshader.so
18libvulkan.so.1
19LICENSES.chromium.html
20locales
21resources
22resources.pak
23snapshot_blob.bin
24v8_context_snapshot.bin
25vk_swiftshader_icd.json
So, we can simply run the binary to launch Antigravity:
$ ./antigravity
Creating a desktop entry
Launching Antigravity from the terminal is doable, but it’s not necessarily the most convenient way. We can create a desktop entry for this. Remember that we do not have sudo access, so we need to create the desktop entry somewhere that is in our PATH yet is writable by us. A good place for this is ~/local/share/applications/. So, we simply create a file called antigravity.desktop in this directory and add the following content:
[Desktop Entry]
Type=Application
Name=Antigravity IDE
Comment=Google Antigravity AI IDE
Exec=/path/to/Installations/Antigravity/antigravity
Icon=/path/to/Installations/Antigravity/resources/app/resources/linux/code.png
Terminal=false
Categories=Development;IDE;
StartupWMClass=antigravity
And that’s it! We can now launch Antigravity from the application menu.
Setting up VSCode extensions
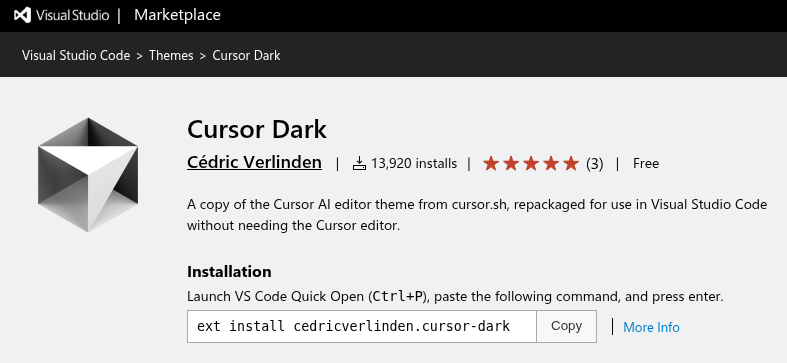
In the 14 days I trial-ed Cursor, I found its dark theme to be one of the best dark themes I’ve used in an IDE. And clearly, I am not alone, because someone created a VSCode extension for it: Cursor Dark.
I have it installed in VSCode, and so I wanted to install it in Antigravity. Unfortunately, Antigravity uses Open VSX instead of the VSCode Marketplace, and the extension is not available on the former.
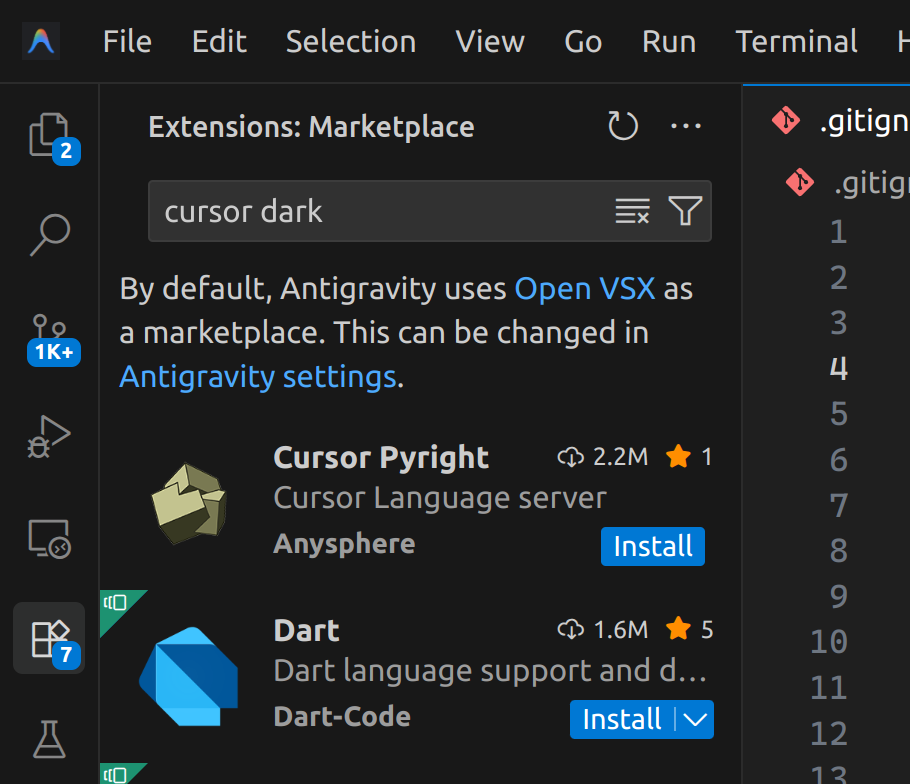
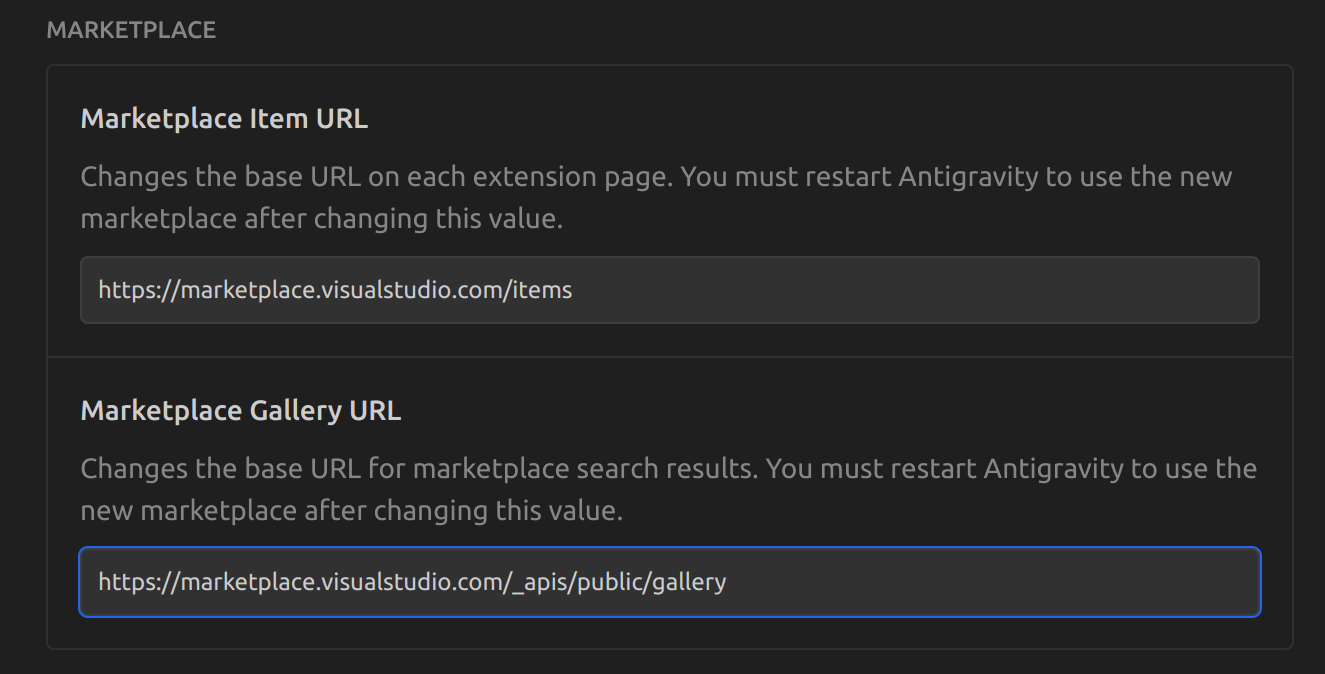
So, as the prompt says, we can change the marketplace to the VSCode Marketplace. Click on “Antigravity settings”, and then under “Marketplace”, set the following URLs:
- “Marketplace Item URL”:
https://marketplace.visualstudio.com/items - “Marketplace Gallery URL”:
https://marketplace.visualstudio.com/_apis/public/gallery
And that’s it. Restart Antigravity and the extension should be available.